 Old Kitchen Stories
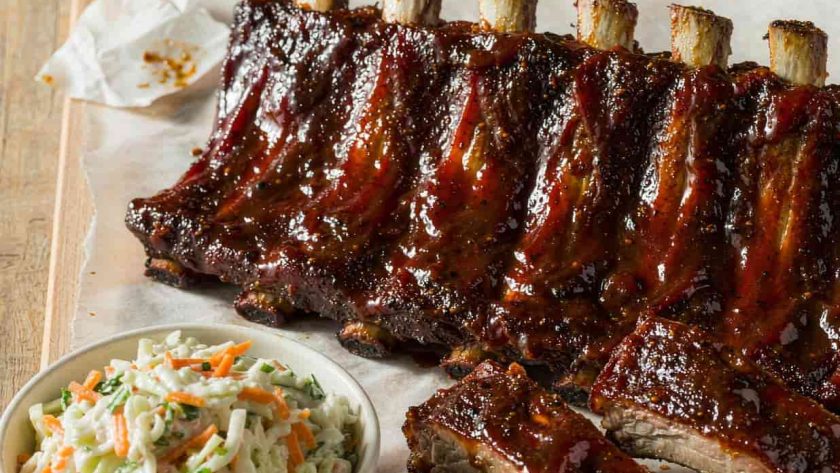
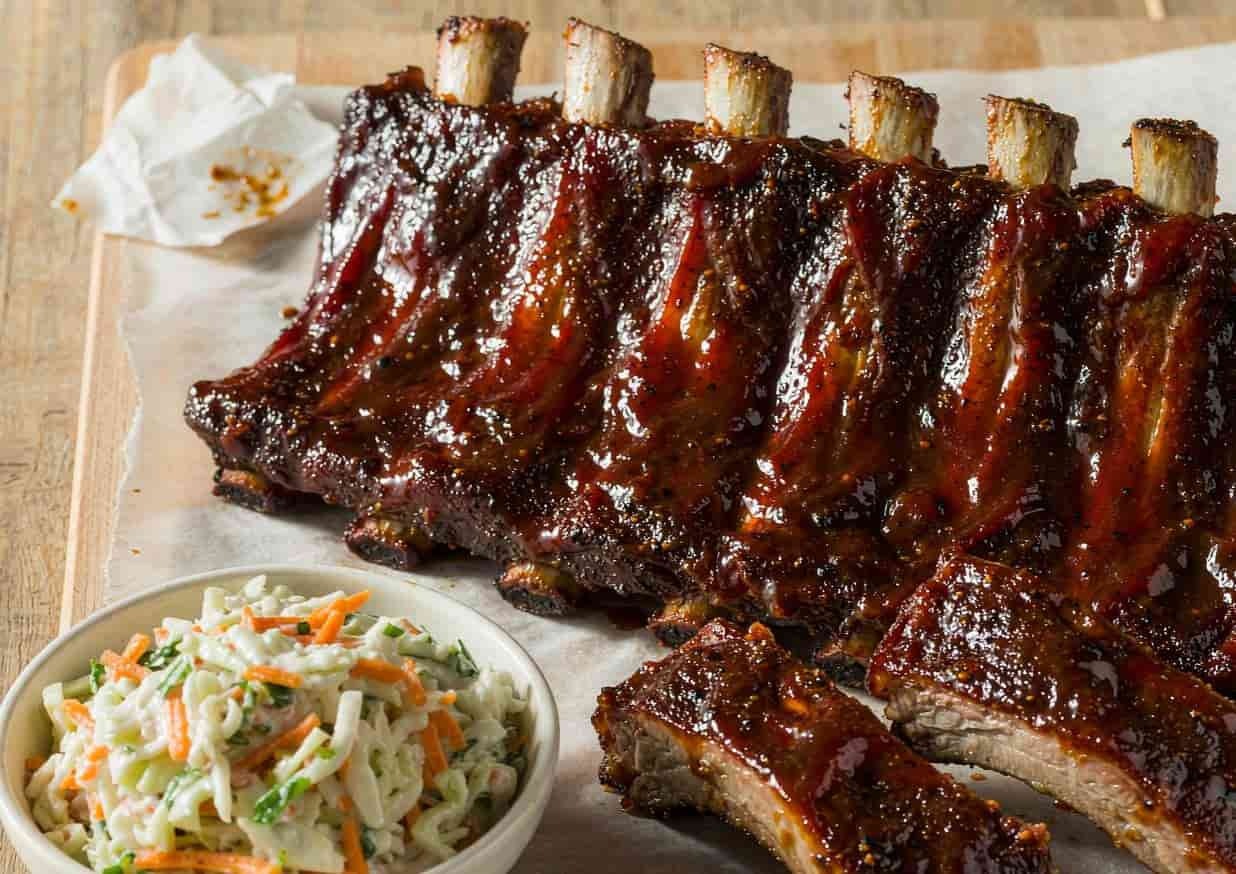
Quick answer: Remove the membrane from two racks of baby back ribs, coat them in a smoked-paprika dry rub, wrap tightly in foil, and bake at 135°C / 275°F for 2 to 2.5 hours until a fork slides in easily. Unwrap, brush with barbecue glaze, and broil 4 to 6 inches from the element for 3 to 5 minutes until the glaze bubbles and chars at the edges.
- Prep time: 10 minutes
- Cook time: 150 minutes
- Total time: 160 minutes
- Servings: 4
- Cuisine: American
- Course: Main Dishes
- Difficulty: Medium
Why this recipe works
A low oven and foil do the work a smoker would. The foil braises the ribs in their own rendered fat at a gentle 135°C / 275°F, which is cool enough that the connective tissue converts to gelatin without the muscle fibres seizing up and squeezing out moisture. High heat is what makes ribs tough. The broiler then does in three minutes what a grill finish would: it caramelises the sugars in the glaze without re-cooking the meat. Removing the membrane on the bone side is not optional — it is a tough, impermeable sheet that blocks rub and smoke from penetrating.
Our method follows the technique guidance published by USDA FSIS — Safe Minimum Internal Temperatures and is adapted for a standard home kitchen.
Ingredients
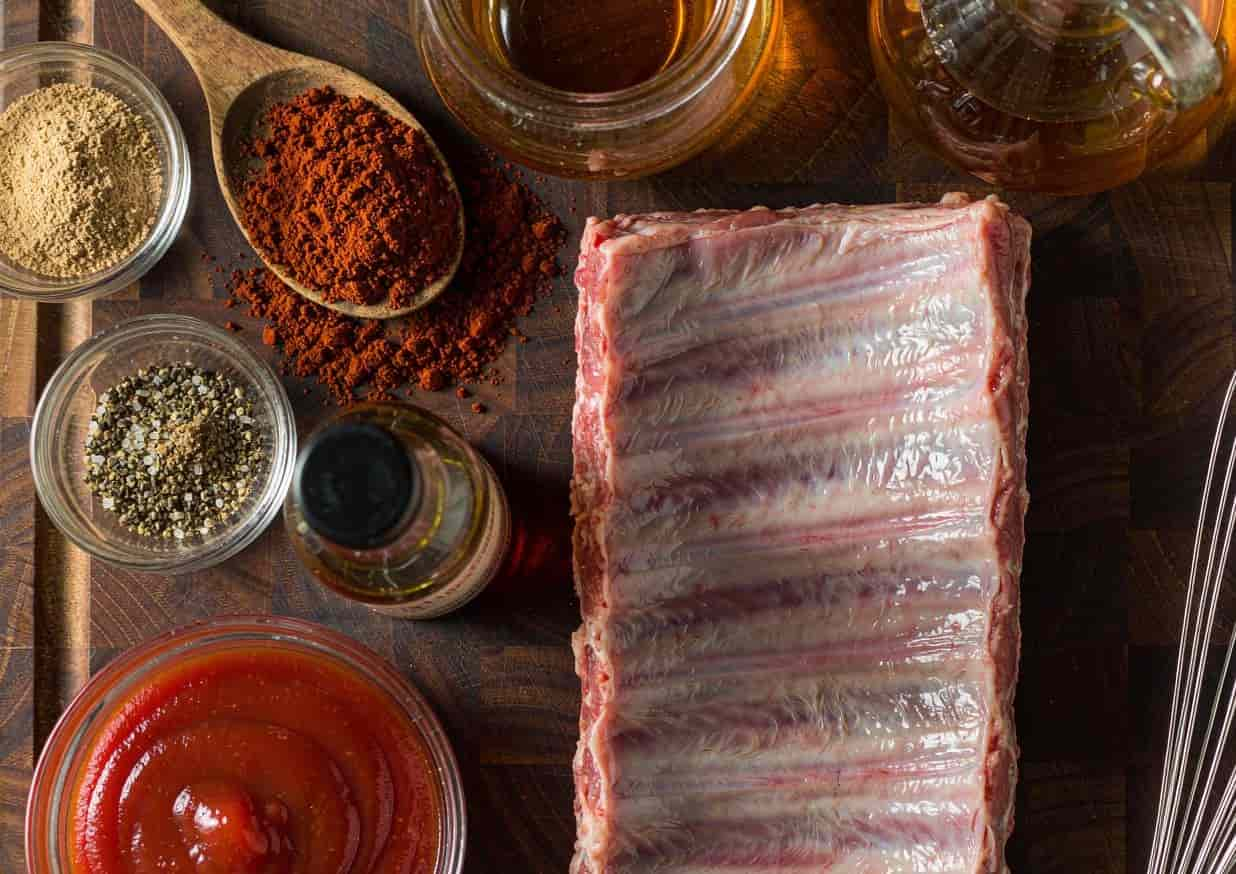
- Dry rub: 2 racks baby back ribs (about 4 lb / 1.8 kg total)
- 2 tbsp smoked paprika
- 1 tbsp brown sugar
- 1 tbsp kosher salt
- 1 tbsp freshly ground black pepper
- 1 tbsp garlic powder
- 1 tbsp onion powder
- 1 tsp ground cumin
- 1 tsp ground mustard
- 1/2 tsp cayenne pepper (optional)
- Glaze: 1 cup ketchup
- 1/3 cup apple cider vinegar
- 1/4 cup brown sugar
- 2 tbsp honey
- 1 tbsp Worcestershire sauce
- 1 tsp smoked paprika
- 1 tsp garlic powder
- 1/2 tsp kosher salt
- 1/4 tsp freshly ground black pepper
Equipment
- Heavy-duty aluminium foil
- Rimmed sheet pan
- Paring knife and paper towel (for the membrane)
How to make bbq baby back ribs step by step
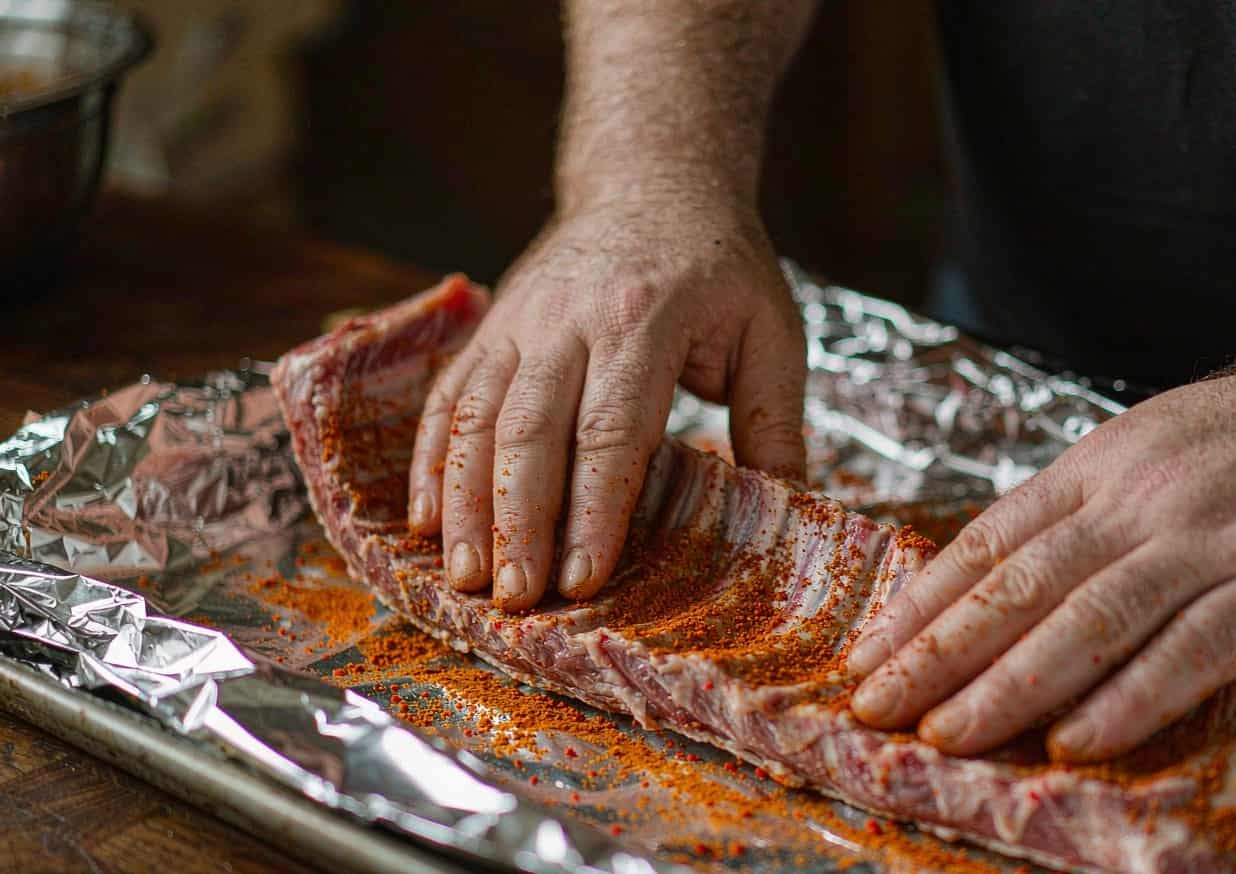
- Remove the membrane. Slide a paring knife under the thin membrane on the bone side, lift an edge, grip it with a paper towel, and pull it off in one piece. Do this for both racks.
- Rub. Mix all the dry rub ingredients and massage them generously into the meat side of both racks. Rest at room temperature for 30 minutes while the oven heats.
- Wrap. Heat the oven to 135°C / 275°F. Put each rack meat-side up on a large sheet of heavy-duty foil and wrap it tightly, sealing the edges. Set both on a rimmed sheet pan.
- Bake low and slow. Bake for 2 to 2.5 hours, until a fork slides easily into the meat between the bones and the rack bends when you lift one end with tongs.
- Make the glaze. While the ribs bake, whisk all glaze ingredients in a small saucepan and simmer over medium-low heat for 10 minutes, until thickened. Set aside.
- Unwrap and glaze. Raise the oven to broil. Carefully open the foil — the steam is very hot — and move the racks to the sheet pan, meat-side up. Brush generously with glaze.
- Broil. Broil 4 to 6 inches from the element for 3 to 5 minutes, until the glaze bubbles and chars slightly at the edges. Brush with a second coat of glaze.
- Rest and cut. Rest for 5 minutes, then cut between the bones into two- or three-bone portions.
- Serve with extra glaze, coleslaw, and cornbread.
What we learned testing this bbq baby back ribs recipe
We cooked this recipe four times before publishing it. These are the things that only showed up in the kitchen, not on paper.
- Removing the membrane on the bone side is tedious and essential. Left on, it blocked the rub and left a chewy, papery layer underneath. A paper towel for grip makes it easy.
- We tested a dry oven method against the foil braise. Oven-only ribs were still tough at the bone after three hours. Two hours wrapped in foil followed by 45 minutes uncovered gave meat that pulled clean with a slight tug.
- Sugar in the rub burns. The batch with a brown-sugar-heavy rub, foiled for the full time, came out bitter with blackened patches. We now keep the rub low in sugar and use a sweet glaze only at the end.
- The bend test beats the clock. Lift the rack with tongs from the middle: when it bends to roughly 90 degrees and the surface cracks, it is ready.
- Resting the glazed ribs for ten minutes lets the sauce set. Straight from the broiler, the glaze ran off onto the plate.
Expert tips
- Do not skip removing the membrane. It takes two minutes and it is the difference between tender ribs and chewy ones.
- Wrap the foil tightly. Any steam that escapes is moisture the meat needed.
- The ribs are ready when they bend, not when the timer says so. Lift one end with tongs: if the rack droops and the surface cracks, they are done.
- Glaze goes on at the end only. Sugar burns long before the meat is tender.
Variations and substitutions
- Smoker: bake at 110°C / 225°F for 3 hours, then finish over indirect heat with apple or hickory wood for 1 hour.
- Grill only: cook over indirect heat at 135°C / 275°F for 2 hours in foil, then over direct heat, glazed, for 5 minutes per side.
- Dry ribs: skip the glaze entirely and serve with a mustard-based dipping sauce on the side.
- Spare ribs: the same method works; add 30 to 45 minutes to the bake time.
Troubleshooting
| What went wrong | Why it happens | How to fix it |
|---|---|---|
| Ribs are tough | The braise was too short, or the oven runs cool. | Extend the foil stage by 30 minutes; the meat should pull back from the bone ends by about 1 cm. |
| Rub is bitter and black | Too much sugar exposed to high heat for too long. | Keep the sugar low in the rub and apply the sweet glaze only in the last 15 minutes. |
| Dry, stringy meat | Cooked uncovered for too long. | Keep the foil sealed for the braise and limit the uncovered stage to 45 minutes. |
| Glaze slides off | It went on too early, or the ribs were not rested. | Glaze in the last 15 minutes and rest for 10 minutes before cutting. |
Storage, food safety and make-ahead
Cooked ribs keep 4 days refrigerated or 3 months frozen. Reheat wrapped in foil at 135°C / 275°F until warmed through, then glaze and broil again briefly to refresh the finish.
For safe cooling, storage times, and reheating, follow the USDA FSIS food safety guidance.
Nutrition information
Per serving (1/2 rack): approximately 620 kcal, 38 g protein, 38 g fat, 28 g carbohydrates, 1 g fibre, 1,540 mg sodium. Estimates based on USDA FoodData Central reference values.
Figures are calculated from the USDA FoodData Central database and are estimates only. Values vary with ingredient brands and portion size.
Frequently asked questions
Why do I need to remove the membrane?
It is a tough, impermeable layer on the bone side. It blocks rub and smoke from reaching the meat and stays chewy no matter how long you cook the ribs. Grip it with a paper towel for purchase and peel it off.
Baby back ribs or spare ribs?
Baby backs are smaller, leaner, and cook faster; this recipe is written for them. Spare ribs are larger, fattier, and more forgiving. Both work — add 30 to 45 minutes for spares.
Should I boil the ribs first?
No. Boiling leaches out flavour and the foil braise achieves the same tenderising effect while keeping the fat and collagen in the pan where they belong.
Can I make these a day ahead?
Yes. Bake them the day before, refrigerate in the foil, then reheat at 135°C / 275°F and glaze and broil just before serving.
Sources and further reading
- USDA FoodData Central
- USDA FSIS — Safe Minimum Internal Temperatures
- Serious Eats — The Food Lab
- Epicurious — Recipe Archive & Technique Guides
Nutrition figures on this page are calculated from the USDA FoodData Central database and are estimates only. They are not a substitute for advice from a qualified dietitian or physician.
Last updated: September 5, 2026. Recipe tested four times in a standard home kitchen by the named author above. Corrections are welcome and are noted on the page when published.