
 Old Kitchen Stories
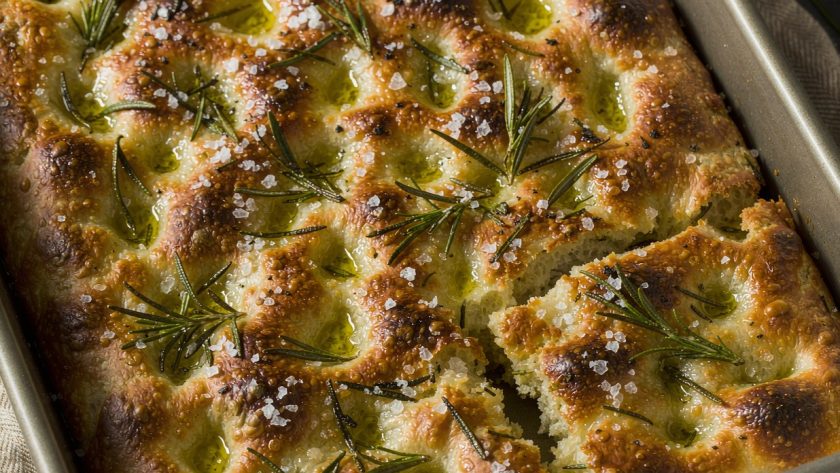
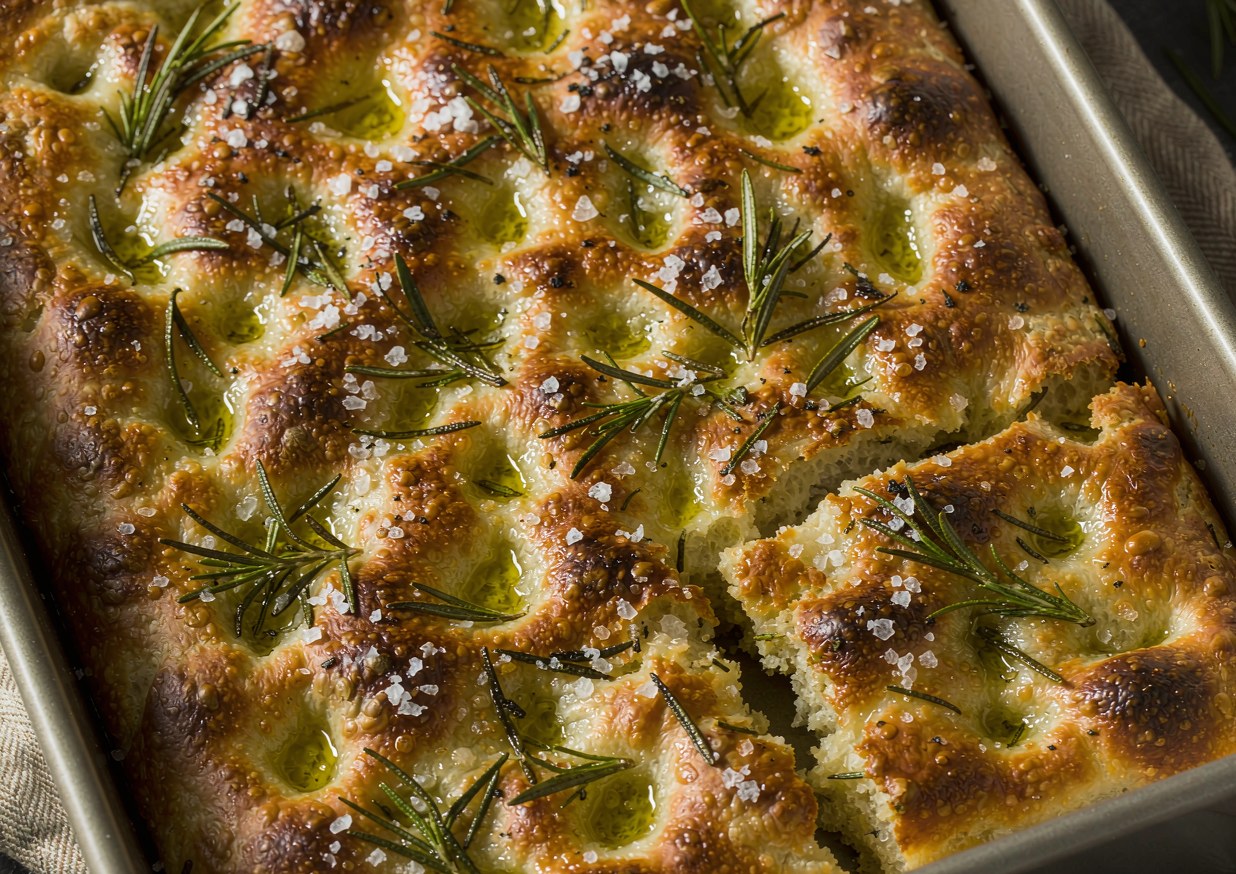
Quick answer: Whisk 500 g of bread flour with 10 g of fine salt and 4 g of instant yeast, stir in 400 ml of tepid water and 40 ml of olive oil until no dry flour is left, and rest 30 minutes. Do four sets of stretch-and-fold at 30-minute intervals, then cover and refrigerate for 12 to 18 hours. Pour 60 ml of olive oil into a 23 by 33 cm metal tin, tip the dough in, and let it come to room temperature for 90 minutes until puffy. Press your fingertips right through it to the base, trickle over a brine of 2 tbsp water, 1 tbsp oil and half a tsp of salt, scatter rosemary and flaky salt, and bake at 230°C / 450°F for 22 to 25 minutes until deep gold. Cool 10 minutes on a rack.
- Prep time: 30 minutes
- Cook time: 25 minutes
- Total time: 55 minutes
- Servings: 8
- Cuisine: Italian
- Course: Breads & Pizza
- Difficulty: Easy
Why this recipe works
Focaccia is a wet dough baked in a lot of oil, and almost everything about it follows from those two facts. Because the dough is wet, it cannot be kneaded into a smooth ball, so strength is built by folding it instead: four gentle sets, spaced half an hour apart, align the gluten without ever developing it so far that the crumb turns chewy. Because it is baked in oil, the base does not so much bake as fry, which is why the pan has to be metal and the oven genuinely hot — cool metal steams the underside pale and greasy. The long cold ferment is what does the flavour work: overnight in the fridge, the yeast slows while the bacteria keep producing acid, so the baked bread tastes of something rather than of flour. The dimples are not decoration. Pressing right through to the base punches the dough down where it would otherwise rise into one big bubble, and it leaves hollows that fill with oil and crisp into little pools.
Our method follows the technique guidance published by King Arthur Baking Company — Baking Resources and is adapted for a standard home kitchen.
Ingredients
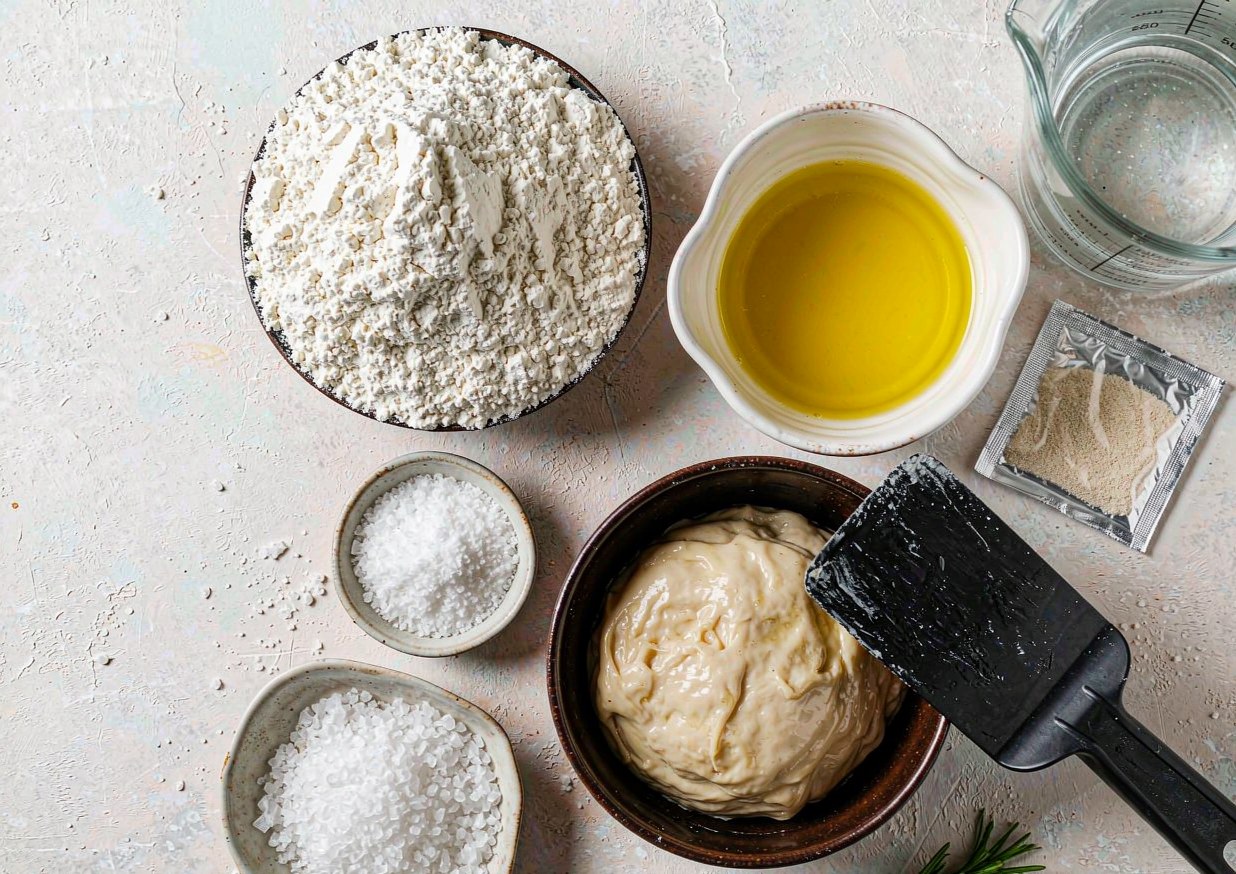
- 500 g / 4 cups bread flour (strong white flour), plus a little for dusting
- 400 ml / 1 2/3 cups tepid water, about 24°C / 75°F
- 10 g / 1 3/4 tsp fine sea salt
- 4 g / 1 1/4 tsp instant dried yeast
- 40 ml / 3 tbsp extra-virgin olive oil, for the dough
- 60 ml / 1/4 cup extra-virgin olive oil, for the tin
- 2 tbsp fresh rosemary leaves, roughly torn
- 1/2 tsp flaky sea salt, to finish
- Brine: 2 tbsp water, 1 tbsp olive oil, 1/2 tsp fine sea salt, whisked
Equipment
- A digital kitchen scale — this dough is a ratio by weight and a cup of flour varies by a fifth
- A 23 by 33 cm metal baking tin or a heavy rimmed sheet pan; metal, never glass, because the base has to fry rather than steam
- An oven thermometer, since domestic ovens routinely sit 20°C below the dial and focaccia fails on that gap alone
- A bench scraper for the folds, and a bowl large enough for the dough to triple
- An instant-read thermometer to confirm the crumb has set at 98°C / 208°F
- A wire rack, so the base does not steam itself soft after baking
How to make rosemary focaccia step by step
- Mix, do not knead. Whisk the flour, salt and yeast in a large bowl. Pour in the water and the 40 ml of oil and stir with a spatula or a wet hand until there is no dry flour left and you have a shaggy, sticky mass. It will look too wet. That is correct.
- Rest, then fold. Cover and leave for 30 minutes. Then do the first set of folds: wet one hand, take the dough from the far side, stretch it up, and fold it over onto itself. Give the bowl a quarter turn and repeat three more times. The dough will tighten noticeably under your hands.
- Repeat three more times. Do the same four-fold set every 30 minutes, three more times. By the last set the dough should feel smooth, hold a domed shape, and have visible bubbles around the edge. Now it is ready for the cold.
- Cold-ferment overnight. Cover tightly and refrigerate for 12 to 18 hours. The dough will roughly double and go slack and bubbly. This is where the flavour comes from, so do not shortcut it into a warm afternoon.
- Pan it. Pour the 60 ml of oil into the metal tin. Tip the dough in, turn it once so it is coated, and leave it uncovered at room temperature for 60 to 90 minutes, until visibly puffy and jiggling when you nudge the tin. Preheat the oven to 230°C / 450°F for a full 20 minutes after the light goes out.
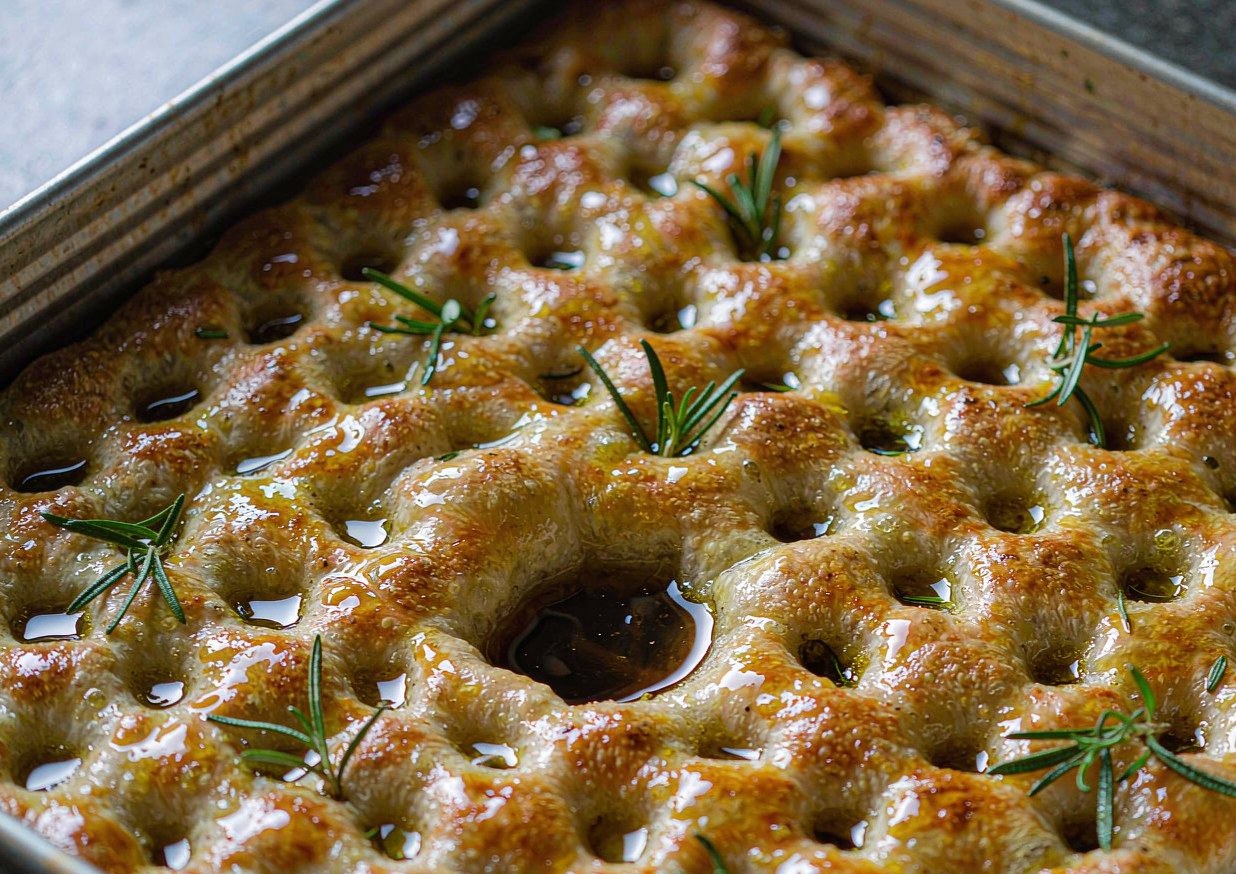
- Dimple it. Oil your fingertips and press straight down through the dough to the base of the tin, all over, in rows. Press firmly: you want deep craters, not dents. If the dough springs back, give it another 15 minutes and try again.
- Brine, rosemary, salt. Whisk the brine and trickle it over the surface, where it will pool in the dimples. Scatter over the rosemary — tuck half of it into the hollows so the tips do not char — then the flaky salt.
- Bake hot. Bake for 22 to 25 minutes, until the top is deep gold and the edges have pulled away from the tin. Check with an instant-read thermometer: the centre should read 98°C / 208°F. Turn it out onto a wire rack within two minutes, or the base steams soft, and cool for 10 minutes before cutting.
What we learned testing this rosemary focaccia recipe
We cooked this recipe three times before publishing it. These are the things that only showed up in the kitchen, not on paper.
- Our first bake was a genuine failure. We used all-purpose flour at 85 percent hydration, which meant the dough never held any structure at all, and we baked it at 200°C in a thin aluminium tray. It came out as a dense, pale slab about 1.5 cm thick with a greasy underside and raw streaks near the middle. Bread flour, 80 percent hydration, a heavy metal tin and 230°C turned the same ingredients into a proper open crumb with a fried base.
- Hydration, three bowls at 70, 80 and 85 percent: 70 gave a tight crumb and a bread that dried out within hours; 80 gave open, irregular holes and a tender crumb that lasted two days; 85 was unmanageable without a stand mixer and spread flat in the tin. Eighty is the practical ceiling by hand.
- Fermentation, split from one dough: 2 hours at room temperature baked pale with a flavour that was mostly flour; 12 hours in the fridge gave a blistered top and a noticeably sour, wheaty aroma; 24 hours was a shade more sour but the dough had begun to slacken and lost height. Twelve to eighteen hours is the window.
- Pan material, same dough in three: a heavy metal tin fried the base deep gold and crisp; a thin aluminium tray buckled and left the underside pale; a glass dish steamed the base soft and grey. Metal and mass are not optional here.
- Dimpling, tried three ways: pressing before the final rise gave craters that filled back in; pressing right through to the base after the rise held its shape and pooled oil; pressing after 10 minutes of baking set the crust before the dimples could take. After the final rise, all the way down, is the one that works.
Expert tips
- Weigh everything. This dough sits at 80 percent hydration, and a cup of flour measured by scooping can be 20 percent heavier than one spooned in.
- Bread flour, not all-purpose. The extra protein is what lets a dough this wet hold its shape and keep an open crumb.
- Oil your hands rather than flouring them. Flour worked in at the folding stage dries the crumb and leaves white streaks in the baked bread.
Variations and substitutions
- Cherry tomato and oregano: press 200 g of halved cherry tomatoes, cut side up, into the dimples with the rosemary swapped for oregano.
- Red onion and thyme: scatter one thinly sliced red onion over the dough with the brine and use thyme instead of rosemary.
- Olive and coarse semolina: replace 100 g of the bread flour with fine semolina for a sandier crumb and add 80 g of pitted olives before baking.
- Same-day version: skip the fridge and bulk-ferment at room temperature for 2 to 2 1/2 hours after the folds. The crumb is a little less open and the flavour flatter, but it works.
Troubleshooting
| What went wrong | Why it happens | How to fix it |
|---|---|---|
| Flat, dense crumb with no holes | The dough was under-fermented, or it was made with a weak flour that could not hold the gas produced overnight. | Use bread flour, give it the full 12 to 18 hours in the fridge, and let it come back to room temperature for 90 minutes in the tin until it jiggles when you nudge it. |
| Pale, greasy base that never crisped | The tin was glass or thin aluminium, the oven was running cool, or the bread was left to cool in the tin and steamed in its own heat. | Bake in a heavy metal tin at 230°C / 450°F — check with an oven thermometer — and turn the bread out onto a wire rack within two minutes of it leaving the oven. |
| Tough, chewy crumb rather than tender | The dough was kneaded instead of folded, or too much flour was worked in during the folds and shaping. | Keep to four gentle sets of stretch-and-fold and oil your hands instead of flouring them. A dough this wet should feel slack, never elastic. |
| Rosemary is black and bitter on top | The leaves sat exposed on the surface for the full bake at 230°C / 450°F and burnt. | Tuck half the rosemary down into the dimples, where the brine protects it, and scatter the rest over the bread in the last 5 minutes or straight after it comes out. |
Storage, food safety and make-ahead
Focaccia is best on the day it is baked and noticeably worse the next morning, because the crumb dries faster than a lean bread. Keep it cut-side down under a clean cloth at room temperature for up to 2 days and refresh it in a 200°C / 400°F oven for 5 minutes. It freezes well for up to 2 months: slice first, wrap tightly, and reheat from frozen at 200°C / 400°F for 8 minutes. The dough keeps 48 hours in the fridge, and the baked bread should never be stored in the tin.
For safe cooling, storage times, and reheating, follow the USDA FSIS food safety guidance.
Nutrition information
Per slice (one of eight): approximately 315 kcal, 8 g protein, 14 g fat, 40 g carbohydrates, 2 g fibre, 520 mg sodium. Values are estimates derived from the USDA FoodData Central database and change with how much oil stays in the tin and how thickly you cut it.
Figures are calculated from the USDA FoodData Central database and are estimates only. Values vary with ingredient brands and portion size.
Frequently asked questions
Why is my focaccia flat and dense?
Usually one of three things: the dough was under-fermented, the flour was too weak, or the oven was not hot enough. Strong bread flour, the full overnight cold ferment, and a properly preheated oven at 230°C / 450°F with an oven thermometer to check it.
Can I use all-purpose flour?
You can, but drop the water to 350 ml and expect a closer, cakier crumb. All-purpose flour has less protein than bread flour, and at 80 percent hydration it will not hold the gas the dough produces overnight.
Do I have to knead it?
No. This dough is far too wet to knead. Four sets of stretch-and-fold at 30-minute intervals build all the structure it needs, and folding builds less toughness than kneading, which is what keeps the crumb tender rather than chewy.
Why is the bottom pale and greasy?
The tin was glass or thin aluminium, or the oven was running cool. The base of a focaccia fries in the oil, and frying needs heat held in metal. Use a heavy metal tin at 230°C / 450°F, and turn the bread out onto a rack the moment it leaves the oven.
Sources and further reading
- USDA FoodData Central
- King Arthur Baking Company — Baking Resources
- USDA FSIS — Safe Minimum Internal Temperatures
- BBC Food — Recipes & Techniques
Nutrition figures on this page are calculated from the USDA FoodData Central database and are estimates only. They are not a substitute for advice from a qualified dietitian or physician.
Last updated: September 7, 2026. Recipe tested three times in a standard home kitchen by the named author above. Corrections are welcome and are noted on the page when published.