 Old Kitchen Stories
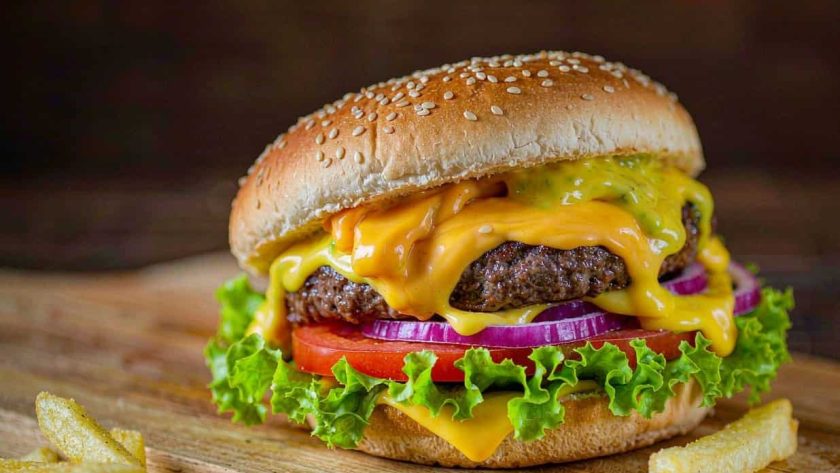
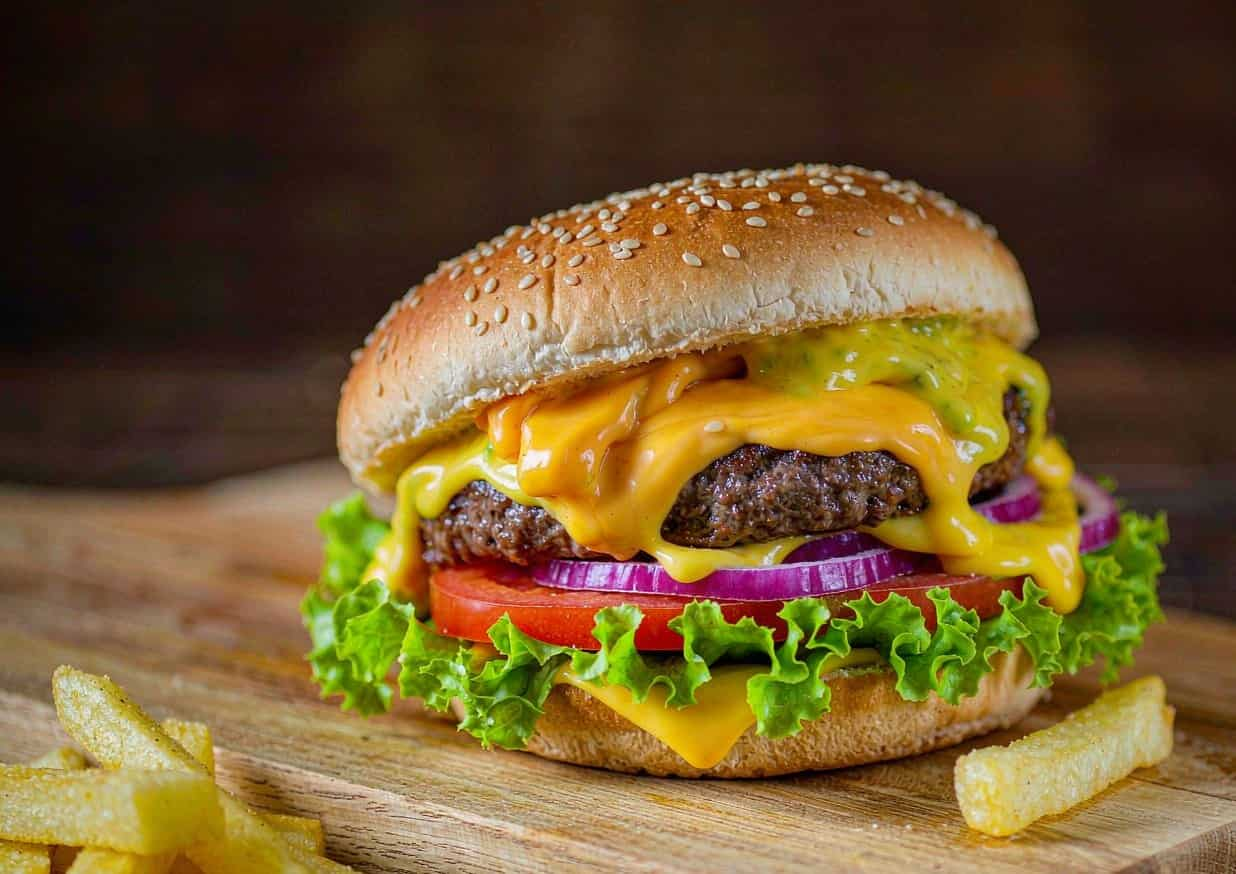
Quick answer: Form 6 oz / 170 g patties from 80/20 ground chuck without compacting the meat, season the outside generously, and sear in a very hot cast-iron skillet for 3 minutes per side. Melt American cheese on top under a lid with a splash of water, toast buttered potato buns, and assemble with lettuce, tomato, onion, and pickles.
- Prep time: 10 minutes
- Cook time: 12 minutes
- Total time: 22 minutes
- Servings: 4
- Cuisine: American
- Course: Main Dishes
- Difficulty: Easy
Why this recipe works
The difference between a great burger and a dry one is fat and restraint. We use 80/20 ground chuck, we season only the exterior, we form the patties loosely so the interior stays tender, and we put a shallow dimple in the centre so the patty does not dome while cooking. The pan has to be genuinely hot before the meat goes in — three minutes of preheating on high — because the crust is where the flavour is. Ground beef should be cooked to a safe minimum internal temperature; check the USDA FSIS guidance for the current figure and use an instant-read thermometer rather than guessing.
Our method follows the technique guidance published by USDA FSIS — Safe Minimum Internal Temperatures and is adapted for a standard home kitchen.
Ingredients
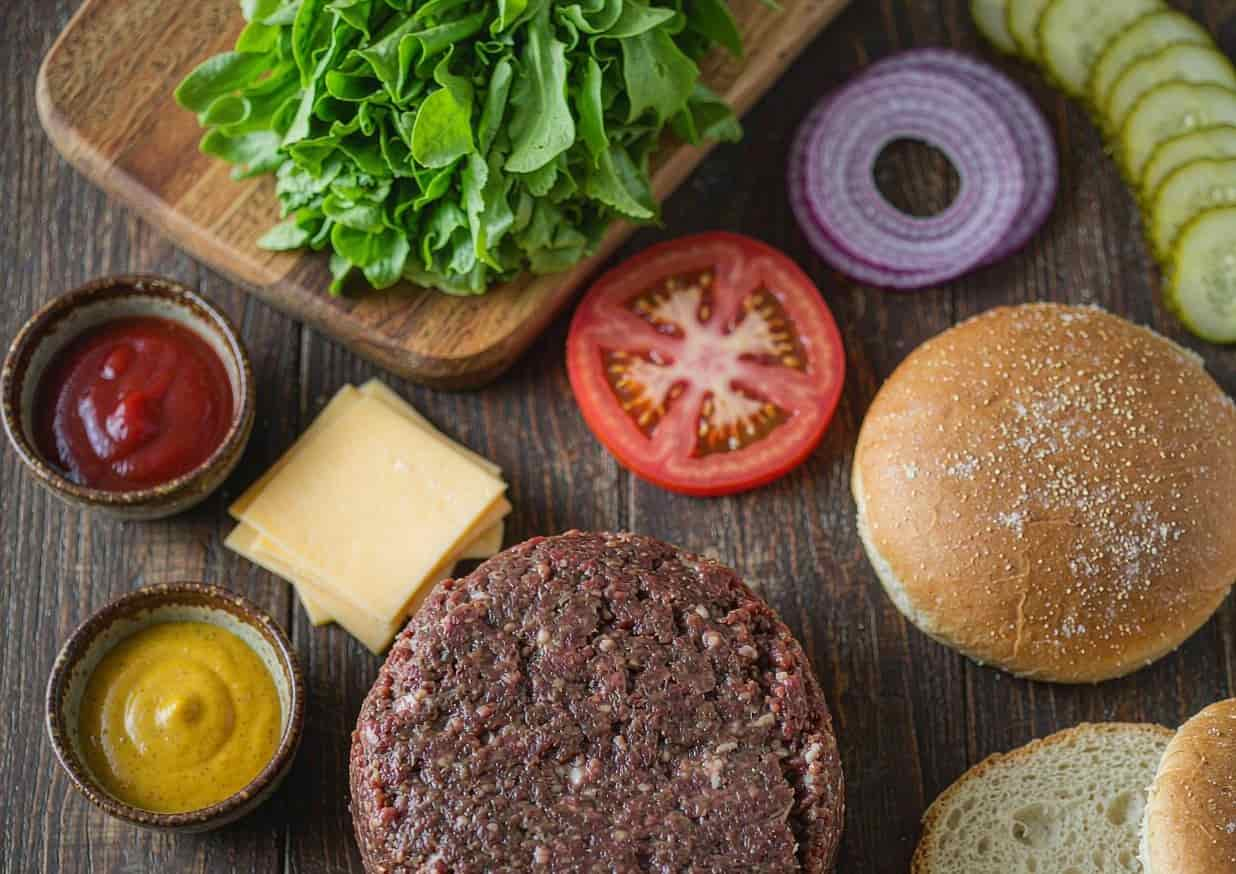
- 1 1/2 lb / 680 g ground chuck (80/20 fat)
- 1 tsp kosher salt
- 1/2 tsp freshly ground black pepper
- 1 tbsp neutral oil (canola or grapeseed)
- 4 slices American cheese
- 4 soft potato hamburger buns
- 2 tbsp unsalted butter, softened
- 4 leaves green-leaf or butter lettuce
- 1 large tomato, sliced 1/4 inch thick
- 1/2 small red onion, sliced into thin rings
- Dill pickle chips, for serving
- Sauce: 1/3 cup mayonnaise, 2 tbsp ketchup, 1 tbsp yellow mustard, 1 tbsp finely chopped dill pickle, 1 tsp smoked paprika, 1/2 tsp garlic powder
Equipment
- A cast-iron skillet or flat-top griddle — cast iron holds heat through the cold patty and is what gives you the crust
- An instant-read thermometer, so you are cooking to temperature rather than to time
- A fish spatula or thin metal turner for getting under the crust cleanly
- A small bowl for the sauce and a board for assembling
How to make american cheeseburger step by step
- Mix the sauce. Whisk all sauce ingredients in a small bowl and refrigerate until needed.
- Form the patties. Divide the meat into four 6 oz / 170 g portions. Shape each into a patty about 4 inches wide and 3/4 inch thick, and press a shallow dimple into the centre with your thumb. Do not compact the meat.
- Season and preheat. Season both sides of each patty generously with salt and pepper. Heat a large cast-iron skillet over high heat for 3 minutes, until it is genuinely hot. Add the oil.
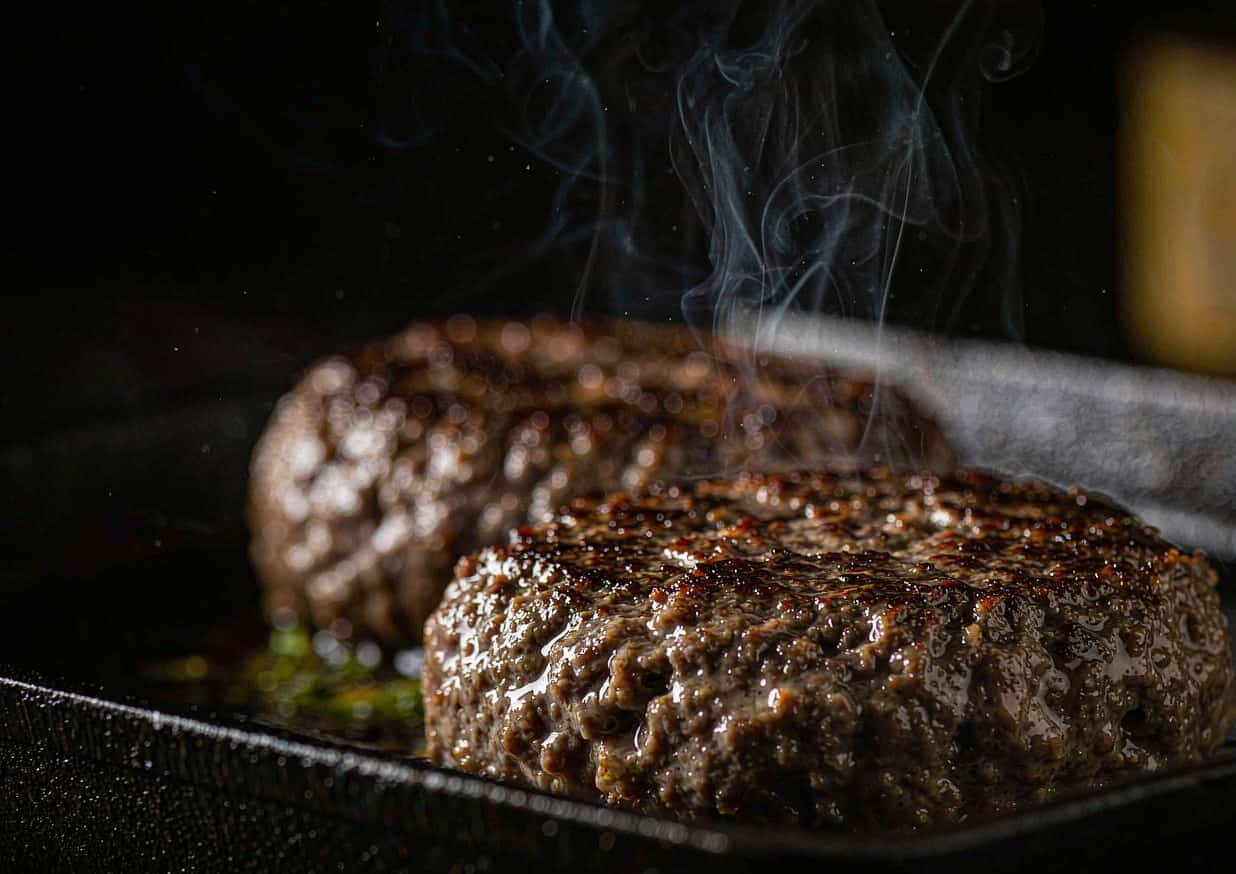
- Sear. Lay the patties in the pan with space between them and do not move them for 3 minutes. Flip once and cook 2 to 3 minutes more, checking with an instant-read thermometer against the current USDA FSIS safe minimum temperature for ground beef.
- Melt the cheese. In the last 30 seconds, lay a cheese slice on each patty, add 2 tbsp water to the pan, and cover immediately to trap steam. The cheese melts in 30 to 60 seconds.
- Toast the buns. Butter the cut sides and toast them in a second pan over medium heat until golden, about 1 minute.
- Assemble. Spread sauce on both bun halves. Build from the bottom: lettuce, patty with cheese, tomato, onion, pickles, top bun.
- Serve immediately, with extra pickles alongside.
What we learned testing this american cheeseburger recipe
We cooked this recipe four times before publishing it. These are the things that only showed up in the kitchen, not on paper.
- 80/20 ground chuck beat everything else. At 90/10 the patties were dry and crumbly; at 70/30 they shrank by nearly a third, flared badly on the skillet, and picked up an acrid, smoky crust.
- We tested patty thickness at 1 cm and 2 cm. The thin patties cooked through before they could build a crust. Two centimetres, with a shallow thumb depression pressed into the centre, gave a proper crust and stayed flat instead of doming.
- Salting just before cooking, rather than working it into the mince ahead of time, made a measurable difference. Pre-salted patties lost moisture and came out with a springy, sausage-like texture.
- Melting the cheese on the patty in the pan with a lid over it for 30 seconds gave an even melt. Cheese laid on a patty that had come off the heat stayed stiff and slid off on the first bite.
- Resting for two minutes before assembling kept the bun intact. Straight from the pan, the juices soaked through the bottom bun in under a minute.
Expert tips
- Never press the patty with your spatula. Every press pushes rendered fat and juice into the pan.
- If the patties dome in the middle, make the thumb dimple deeper next time.
- Cheese will not melt from heat alone in an open pan. The splash of water and the lid are what do it.
- Toast the bun last so it is still warm and crisp when the burger goes together.
Variations and substitutions
- Smash burger: use 3 oz balls of meat, smash them flat on a screaming-hot griddle, and cook 90 seconds per side. Thin, lacy, and very crisp.
- Bacon cheeseburger: add two crisp bacon strips per burger.
- Turkey burger: substitute dark-meat ground turkey and cook to the safe minimum internal temperature for poultry.
- No bun: serve the patty over a wedge of iceberg lettuce with the sauce on top.
Troubleshooting
| What went wrong | Why it happens | How to fix it |
|---|---|---|
| Patties puff into a dome | No thumb depression, or the patty is too thin. | Press a shallow dent into the centre and form patties at least 2 cm thick. |
| Burger falls apart when flipped | The mince was too lean or over-worked, or you flipped too early. | Handle the meat as little as possible and wait until the edges look dry and the crust releases from the pan. |
| Dry, crumbly patty | The meat was too lean, or it was cooked past medium. | Use 80/20 chuck and pull it at 68°C / 155°F internal for a juicy medium. |
| Soggy bottom bun | The patty went on straight from the pan, or the bun was not toasted. | Rest the patty for two minutes, and toast the cut sides of the bun in the rendered fat until golden. |
Storage, food safety and make-ahead
Form the patties up to 24 hours ahead and refrigerate them uncovered on a parchment-lined tray. The sauce keeps for 1 week in the fridge. Cooked patties keep for 3 days refrigerated; reheat gently in a covered pan with a splash of water.
For safe cooling, storage times, and reheating, follow the USDA FSIS food safety guidance.
Nutrition information
Per burger (with bun and sauce): approximately 720 kcal, 38 g protein, 45 g fat, 38 g carbohydrates, 2 g fibre, 980 mg sodium. Estimates based on USDA FoodData Central reference values.
Figures are calculated from the USDA FoodData Central database and are estimates only. Values vary with ingredient brands and portion size.
Frequently asked questions
What is the best cheese for a cheeseburger?
American cheese. It melts smoothly and stays creamy rather than splitting into oil and solids. Sharp cheddar has more flavour but tends to break; if you use it, shred it and add it earlier so it melts into the patty.
Why is my burger dry?
Almost always one of three causes: the meat was too lean, the patty was overworked, or it was cooked past the point you wanted. Use 80/20, handle the meat as little as possible, and use a thermometer.
Can I grill these instead?
Yes. Heat a gas grill to high, clean and oil the grates, and cook for 3 minutes per side. Close the lid for the last minute to melt the cheese.
Do I have to use a potato bun?
It is the best option: soft, slightly sweet, and sturdy enough to hold a juicy patty. A brioche bun is a good second choice.
Sources and further reading
- USDA FoodData Central
- USDA FSIS — Safe Minimum Internal Temperatures
- Serious Eats — The Food Lab
- Epicurious — Recipe Archive & Technique Guides
Nutrition figures on this page are calculated from the USDA FoodData Central database and are estimates only. They are not a substitute for advice from a qualified dietitian or physician.
Last updated: September 5, 2026. Recipe tested four times in a standard home kitchen by the named author above. Corrections are welcome and are noted on the page when published.